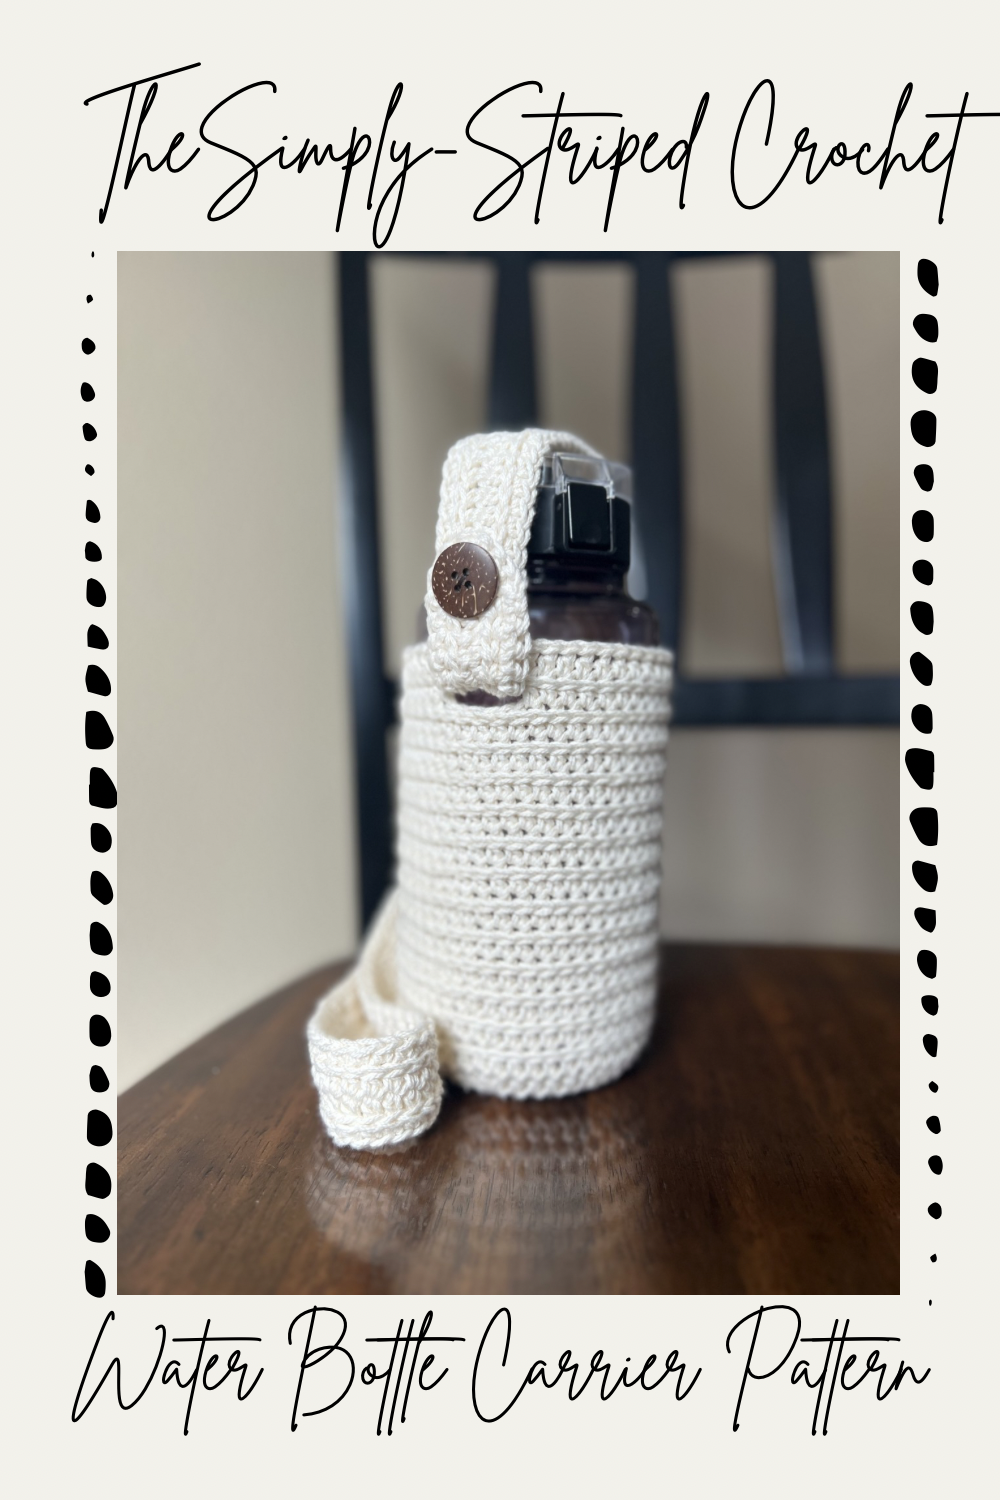

Joining the Simply Striped Collection just in time for the warm weather—the Simply-Striped Crochet Water Bottle Carrier Pattern!
Perfect for taking your hydration on the go! (Or for people who can never remember to drink water to have an easier time keeping track of their water bottle 🙃)
With a removable strap, the carrier can also double as a cozy!


While the base pattern is made to fit a 32 oz Nalgene water bottle, there are ways to adapt the pattern to fit other sizes of water bottles! To get these instructions or or to access to an easy-to-read PDF, follow this link to head over to the Ada Mae Crochet Shop on Etsy to purchase! Because our site doesn’t use ads, purchases at our shop are what make the free site possible! Every purchase goes a long way!
Want to support Ada Mae Crochet but don’t want to buy the pattern PDF?
Don’t have time to make this now?
Please note, this post contains affiliate links for products I use. If you make a purchase using these links, I make a small commission at no additional cost to you.
Materials needed:
- US sz G (4.25 mm) crochet hook
- Approximately 150 yds (86g) of any worsted weight yarn (I used Caron All Day Cotton yarn in the color Cream. Lion Brand 24/7 Cotton yarn is a great replacement)
- ~23 mm button (I used these coconut shell buttons)
- Thread in the same color as the button
Abbreviations:
- Ch-chain
- Hdc-half double crochet
- Rep-repeat
- Sl st-slip stitch
- St(s)-stitch(es)
Skill Rating:
Intermediate (Some aspects of the pattern, such as the straps, may involve techniques challenging for a true beginner)
Finished size (approximate):
3.5” base, 7.5” from base to top of carrier (when laid flat, not including strap), 42.5” strap length
Tips:
- Pattern is worked in the round, so do not turn work after each row
- ch-1 at beginning of round does NOT count as a st throughout the pattern
Pattern:
Base
Make a magic circle

Round 1: ch 1, 8 hdc into the magic circle, sl st to join with the first hdc of the round (8)

Round 2: ch 1, 2 hdc in each hdc from round 1 (the same hdc you slip stitched into), sl st to join with the first hdc of the round (16)

Round 3: ch 1, *1 hdc, 2 hdc, rep from * to the end of the round, sl st to join with the first hdc of the round (24)

Round 4: ch 1, * 1 hdc in the next two sts, 2 hdc in the next st, rep from * to the end of the round, sl st to join with the first hdc of the round (32)

Round 5: ch 1, * 1 hdc in the next three sts, 2 hdc in the next st, rep from * to the end of the round, sl st to join with the first hdc of the round (40)

Round 6: ch 1, *1 hdc in the next four sts, 2 hdc in the next st, rep from * to the end of the round, sl st to join with the first hdc of the round (48)
NOTE: At this point, your base should be the same size as the base of your water bottle.

Side
Round 7: ch 1, hdc in each st to the end of the round, sl st to join with the first hdc of the round (48)

Round 8: Sl st in each hdc to the end of the round, sl st for a second time into the first hdc of the previous round


Round 9-30: Repeat rounds 7 and 8


Round 31: hdc in the first 14 sts of the round, ch 4, sk 4 sts, hdc in the next 20 sts, ch 4, sk 4 sts, hdc in the next 6 sts, sl st to join with the first hdc of the round


Round 32: sl st in each hdc st and ch to the end of the round, sl st into the first hdc of round 31

Round 33: hdc in each st from round 31, sl st for a second time into the first hdc of the round

Round 34: sl st in each hdc to the end of the round, sl st to join with the first hdc of the round.
Fasten off and weave in ends.

Strap
Ch 140

Round 1: beginning in the second ch from the hook, hdc in the back bump of each ch, ch 5, continuing along the other side of the chain, hdc for a second time into each ch, ch 5, sl st to join with the first hdc of the round.


Round 2: sl st in each hdc and ch to the end of the round, sl st to join with the first hdc of the previous round.
NOTE: this is the same place you will work all the sc sts into in the next round.


Round 3: ch 1, sc in each hdc and ch from round 1, sl st to join with the first hdc of the round.
Fasten off and weave in ends.
Sew button on the right side of each end of the strap, about 3” from the ends.

To attach to the carrier, feed the end of each side of the strap with the button side up into the holes in the side of the carrier and feed the button through the hole in the strap to secure.

I hope you liked this pattern! Make sure to show me how it turned out by tagging @AdaMaeCrochet on Instagram!
All content on this website, including crochet patterns, images, text, graphics, and designs, is the property of Ada Mae Crochet unless otherwise stated.
- Patterns are for personal use only.
- You may not copy, reproduce, distribute, sell, or share patterns in any format without written permission.
- You may sell finished items made from the patterns unless otherwise noted, but credit to Ada Mae Crochet is appreciated.
Leave a Reply