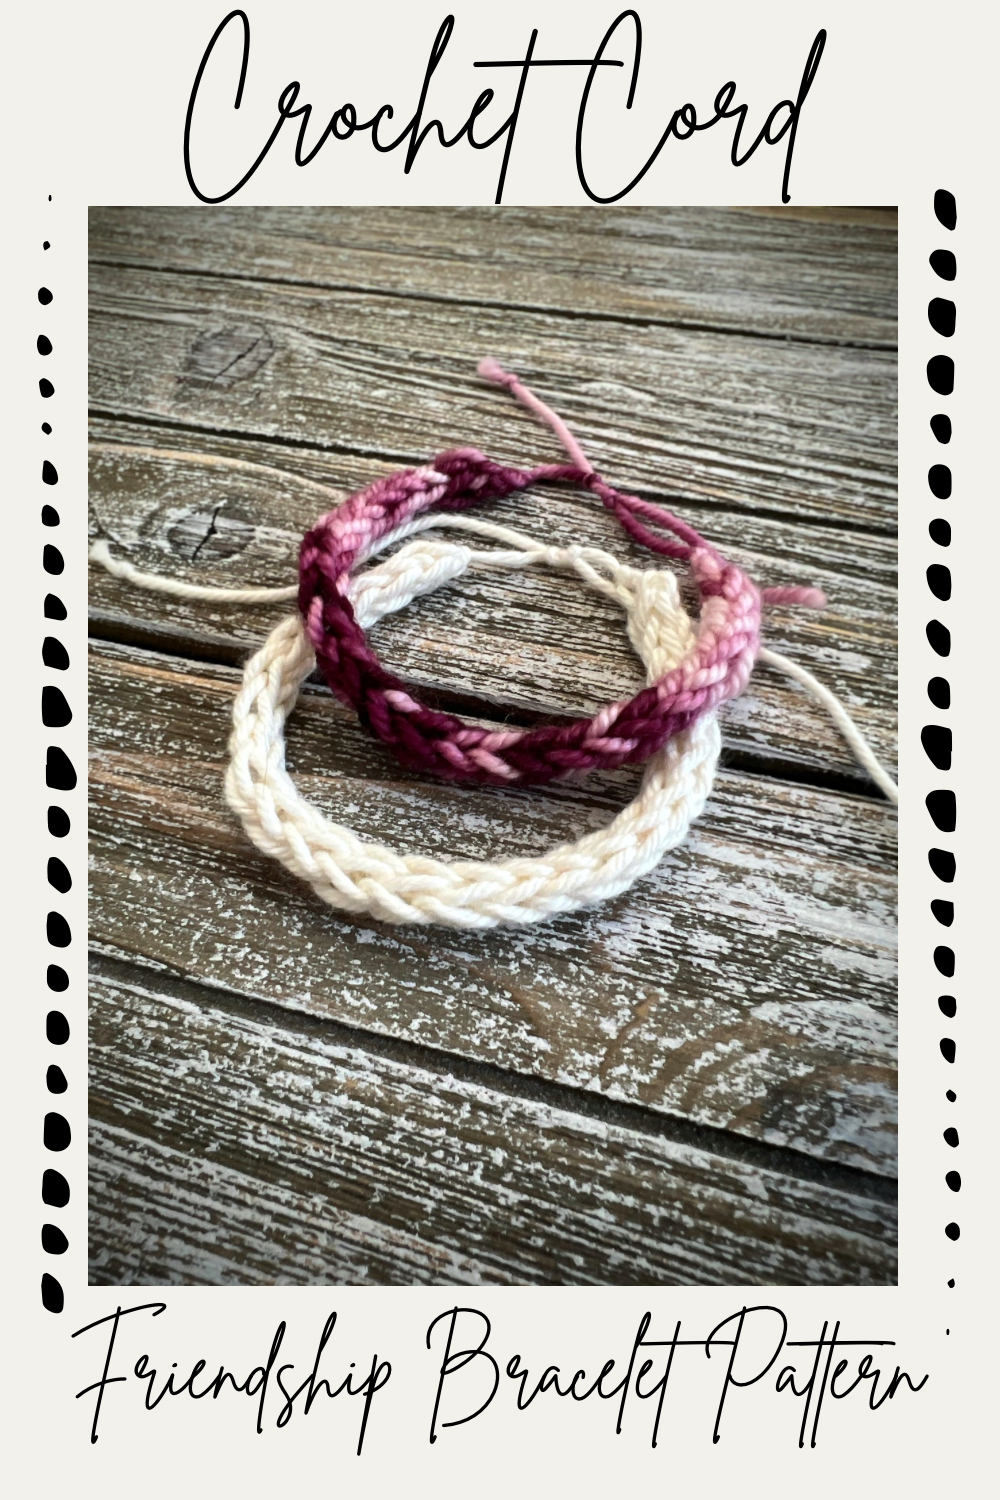

Looking for some nostalgia in crochet form? This is the pattern for you!
Perfect for get-togethers with your crochet besties, as quick makes for a maker’s market, or simply to spark some joy in your creative soul!

This pattern uses the crochet icord technique along with an adjustable knot to make it easy to slip on and off!

And if you want to take the nostalgia a step further, you can find instructions for adding beads in the paid version of the pattern on Etsy and Ravelry!


Want to support Ada Mae Crochet but don’t want to buy the pattern PDF?
Don’t have time to make this now?
Please note, this post contains affiliate links for products I use. If you make a purchase using these links, I make a small commission at no additional cost to you.
Materials needed:
- US sz G (4.25mm) hook or smaller recommended
- A few yards of yarn (worsted or smaller would work best)—I used less than 2 yards
- Scissors
Skill Rating:
Advanced Beginner
Abbreviations:
- Ch-chain
- Rep-repeat
- St(s)-stitch(es)
- YO-yarn over
Pattern:
Bracelet
Make a slip knot, leaving a 5 inch tail.

Ch 3

Insert hook into the second ch from the hook

YO and pull a loop through

Insert hook into the next ch

YO and pull a loop through. There should be 3 loops on the hook at this point.

*CAREFULLY remove the hook from the first two loops, making sure that they do not unravel

YO and pull a loop through the loop on your hook.


Insert hook back into the middle loop, YO and pull up a loop.


Insert your hook back into the last dropped loop, YO and pull up a loop. There should be 3 loops on your hook at this point.


Rep from * until the cord matches the desired length to match wrist size.
To fasten off, YO and pull a loop through all three loops on the hook, cut yarn (leaving a 5 inch tail), YO again and pull end through the loop.


Adjustable Knot
Place the bracelet with both tails facing away from you.

Starting with one tail, work as if you are making a knot as close as possible to the end of the icord, but do not pull tight. Rep with the other tail.


Take the end of one tail and feed it through the loose knot of the other tail. Rep with the other tail.


Pull the knots tight, making sure that the knots end up as close to the icord as possible.

With the bracelet pulled as loose as needed to fit over hand, tie another set of knots just on the tails on each side, close to the first set of knots

Cut any excess yarn, leaving about ¼ inch past the second set of knots

To tighten, pull on tails. To loosen, pull on ends of icord.
And we have a bracelet!

I hope you enjoyed this pattern! Make sure to show me how it turned out by tagging @adamaecrochet on Instagram!
Check out all the other free patterns I have here on my website!
All content on this website, including crochet patterns, images, text, graphics, and designs, is the property of Ada Mae Crochet unless otherwise stated.
- Patterns are for personal use only.
- You may not copy, reproduce, distribute, sell, or share patterns in any format without written permission.
- You may sell finished items made from the patterns unless otherwise noted, but credit to Ada Mae Crochet is appreciated.
Leave a Reply